
Edit Smarter, Not Harder: Photo Tricks for Social Media
Back in the day, when social media platforms were in their inception and not as popular as they are today, you weren’t so flooded with millions and millions of pictures and videos, made by “regular” people that look like they were taken by the most talented and skilled professionals.
It almost makes you feel as if you are completely clueless when it comes to these things. That’s at least the feeling some people get when scrolling through social media. And then, suddenly, everybody wants to have pictures and videos that look sensational.
If you think that you need some superb equipment, or God knows what, in order for your posts to look amazing, don’t worry, that’s not necessary. The only thing that you should know is a couple of editing hacks, and you’re good to go.
If you do not have any prior knowledge or experience as far as this goes, then just pay attention to the tips that are about to be mentioned below!
Editing Can At Times Do More Than Your Camera
Now, some of you may disagree on this, but the reality is that most pictures and videos look fantastic, not because of the camera that was used, but because of the editing tools that were employed.
Although there’s no doubt that having a high-quality camera (and many other pieces of equipment) contributes to this, editing is the one that adds that so-called final touch to everything. Namely, it helps:
- Boost the lighting
- Bring out colors naturally
- Accentuate the subject
- Make every picture stand out
Even if you take pictures with a phone that doesn’t have the best camera in the world, if you utilize the right editing tools (and you actually know what you’re doing), then your pics will definitely look great!
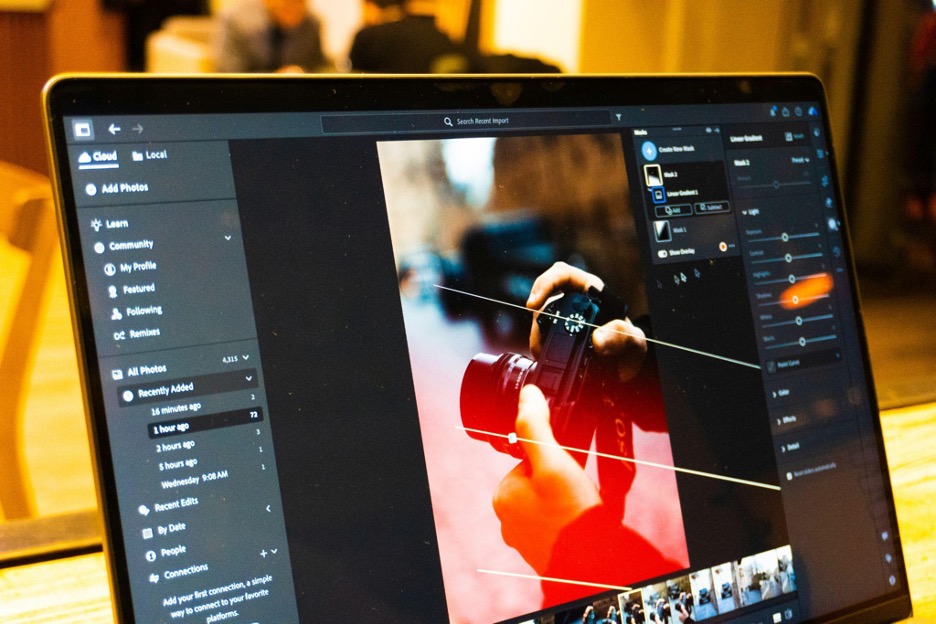
If by any chance, you aren’t very seasoned in terms of editing, don’t fret. There are so many thorough tutorials online that can teach you everything you want to know, starting from a Photoshop background removal tutorial, to tutorials that can help you eliminate some imperfections in your picture. These days, you can come across tutorials for basically anything that can help you hone your skills.
Work On Composition
Most people have had that moment when they took a picture that seemingly looked good, but then they realized that there’s simply something off about it. It wasn’t as aesthetic as it’s supposed to be.
There was either too much empty space, or there were elements in the picture that simply didn’t belong there. Once something like this happens, then it’s time to introduce composition because it’s intended to help you arrange all the elements in your pictures the right way.
One of the best things that you can do as far as this goes is to implement the rule of thirds. So, what does it mean? Picture your image split into nine equal squares. The whole point is to put the subject along these lines.
By doing so, your picture is going to look a lot more appealing and interesting. If by any chance you notice that there’s too much empty space, then be sure to get rid of it, meaning to crop it out.
Cropping means that you are eliminating all the elements in your photo that seem to be redundant. This is important because then the focus is going to be on elements that really deserve to be in the spotlight.
Good Lighting Is Everything!
Before you begin using any editing tool or app, first make sure that you have good lighting. Even though artificial light is a solid option, nothing can top the natural one. Outdoor shade, window light, and many other factors can do so much in terms of effects and the overall impact on your pics.
On the flip side, direct flash, along with the harsh overhead lights have the tendency to create shadows which cannot easily be fixed. Keep in mind that when the lighting is generally good, you won’t need to edit as much, because your picture will already look amazing without any editing. This will save you a lot of time, too!
Simple, Yet Effective – Photo Filter
Now, here’s a suggestion that’s particularly beneficial for beginners who want to master editing and make their pictures on social media look phenomenal, without doing something that’s overly complicated.
In these types of situations, photo filters can be of huge assistance. What’s generally great about them is that they apply a continuous, authentic aesthetic to all your videos and images. One of the most common filters that’s used by both more and less experienced people is the preset filter. With them, all your pictures and videos are going to look sophisticated.
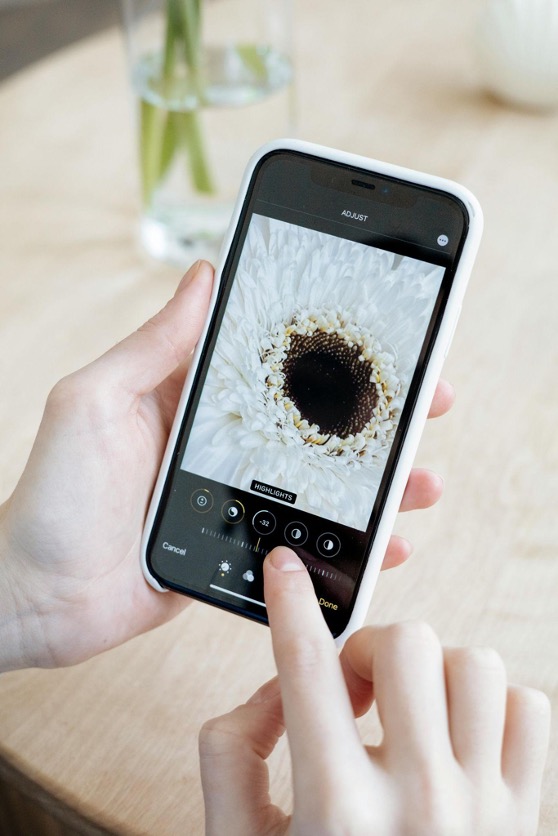
Moving On To Brightness
Speaking of filters, although they always come in handy, it doesn’t mean that they should be your first move during this process. That’s something that many people tend to make, which is a huge mistake.
Instead, you should first start with the brightness. Before you apply any effect, first begin with the basic light adjustment. Even if you make a relatively small tweak when it comes to this, you’ll still make a fantastic change to your pictures.
All of a sudden, they’ll look a lot more alluring. Raising shadows, a bit can unveil interesting details without washing anything out. This is just an example, but the point is that even the smallest alteration can do a lot!

Time To Get Your Facts Straight!
If you’re new to editing, then it doesn’t hurt to expand your knowledge a little bit and at least get to know the basics, for the time being. That’s something that’s going to help you later on get a grasp of other, more complex editing tools. Key aspects of editing include the following:
- Brightness – If you want your picture to be clear, then you should always adjust brightness to make it look either brighter or darker, depending on your preferences and the overall vibe
- Color saturation – This refers to the increase or decrease of the intensity of colors, to make your photo either more vivid or muted
- Contrast – As the name suggests, this means experimenting with the dark and light areas of your image
All of these things are part of the beginner’s journey, and if you master them, then everything else will become much simpler.
Contrast Adds More Depth
Speaking of contrast, that’s an element that’s used a lot by professional photographers and videographers because it adds a certain level of depth to pictures and videos. If you increase it (even the slightest), you will effectively shape and deepen colors.
But be careful, if you overdo it, your pictures will look a bit harsh. Therefore, you should start doing it slowly, just to see how it’s going to look. The entire purpose of contrast is to breathe life into your work.

Editing Your Portraits
Hardly any picture looks great immediately after taking it, without any editing. Since you’ll probably find some flaws in it, it would be advisable to find out what you can do to make your every portrait look perfect.
Basically, every tool that you come across today comes with the red-eye correction tool, which is pretty straightforward. Furthermore, then, all of a sudden, you may decide that you want to whiten your teeth, or get rid of any imperfections of your face, or body.
All of these things can easily be done either in Photoshop or Lightroom. Aside from them, you can also make use of Facetune or GIMP for these purposes.
Colors Should Be As Natural As Possible
Some people love oversaturating their pictures, which may look good at first glance; however, you will quickly realize that it’s actually redundant and, more importantly, makes your picture look very fake.
Therefore, instead of overusing saturation, it would be far more effective if you relied on vibrance instead. That’s if you are using an app that has it. If it doesn’t, then just install the one that does.
Vibrance is here to make dull colors livelier without impacting skin tones too much. If you decide you want to adjust saturation, then do it lightly. The bottom line is that natural colors are always a much better choice than anything else.
They will never go out of style, regardless of what’s currently popular, and that’s something that’s still very popular on all social media platforms.
Don’t Forget The Resolution
Resolution is one of the most important elements of any picture. It affects the clarity of your photograph. If you want all the essential details to be seen on it, then you should definitely opt for a higher resolution.
In contrast, if you want your picture to be a bit blurry, then the lower alternative is the way to go. Social media generally prefers high resolution over the lower counterpart.
What’s amazing about editing is the fact that you can experiment with it to your heart’s content. There are so many things that you can do to enhance your pictures/videos, and today, only a few methods were mentioned, the most effective ones.