How to Remove Background in Photoshop: Step-by-Step Guide (+ Faster AI Alternatives)
Removing the background from an image is one of the most common tasks in photo editing. Whether you are preparing product photos for an online store, creating a clean headshot, or designing marketing graphics, isolating the subject from its background is usually step one. Adobe Photoshop remains the industry standard for this job, and it offers several methods depending on how much precision you need. In this guide, we will walk through three reliable Photoshop techniques, then look at faster AI-based alternatives for when you need results in seconds rather than minutes.
Method 1: The One-Click Remove Background Button
Recent versions of Photoshop include a built-in shortcut that handles simple images surprisingly well.
- Open your image and duplicate the Background layer (Ctrl/Cmd + J) so you always keep an untouched original.
- With the duplicated layer selected, open the Properties panel (Window > Properties).
- Under Quick Actions, click Remove Background.
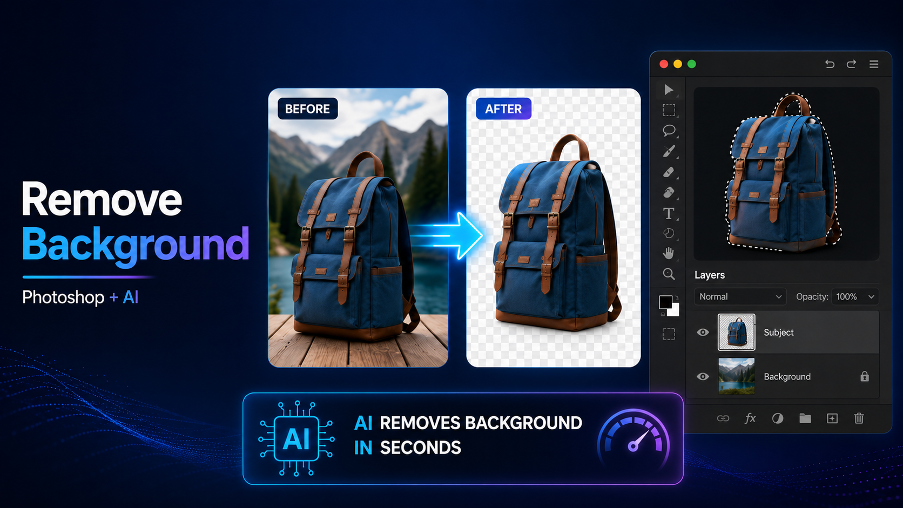
Photoshop analyzes the image, detects the main subject, and applies a layer mask that hides everything else. For photos with a clear subject and decent contrast, this takes under ten seconds. The limitation: edges around hair, fur, or semi-transparent objects often need manual cleanup.
Method 2: Select Subject + Select and Mask for Tricky Edges
When the one-click result looks rough, refine it with the Select and Mask workspace.
- Go to Select > Subject to generate an automatic selection.
- Click Select and Mask in the options bar.
- Use the Refine Edge Brush to paint over hair strands and soft edges. Adjust Smooth, Feather, and Shift Edge sliders until the outline looks natural.
- Set Output To: New Layer with Layer Mask and click OK.
Working with a layer mask instead of deleting pixels is a non-destructive workflow — you can paint the mask in black or white at any time to hide or restore details.
Method 3: The Pen Tool for Pixel-Perfect Cutouts
For product photography with hard, geometric edges — bottles, boxes, electronics — professionals still rely on the Pen tool (P). Trace a path around the subject, right-click and choose Make Selection with a 0.5 px feather, then invert the selection and add a layer mask. It is the slowest method, but it delivers the cleanest possible edge for print and e-commerce work.
Exporting Your Result
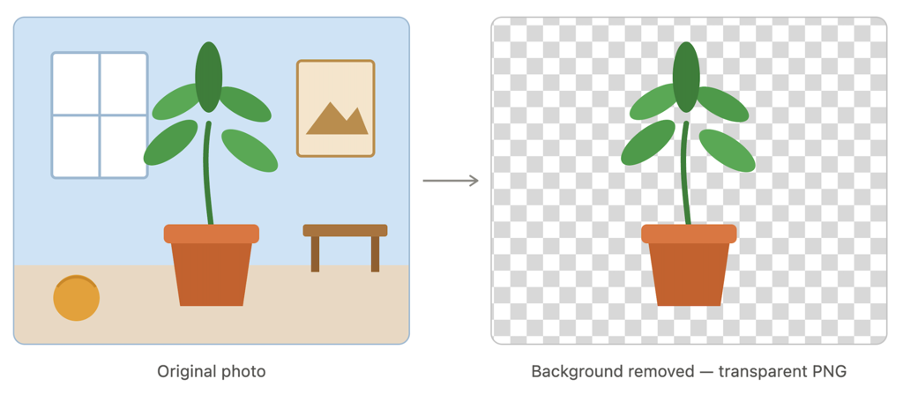
Once the background is gone, export via File > Export > Export As and choose PNG with the Transparency box checked. JPG does not support transparency, so a JPG export will fill the background with solid white.
Faster AI Alternatives (No Photoshop Required)
Photoshop is powerful, but it comes with a subscription cost and a learning curve — and even Method 1 still means opening the app, duplicating layers, and cleaning up edges. If you only need a clean cutout, browser-based tools can now do the entire job automatically. For example, an AI background remover like Picsman detects the subject, handles hair and fur edges, and returns a transparent cutout in a few seconds — you can also swap in a solid color or an AI-generated backdrop without touching a single layer mask. This approach is especially practical for batch work, such as processing dozens of product photos to a consistent white background for Amazon or Shopify listings.
If your end goal is simply a transparent image for logos, stickers, or web design, a dedicated transparent PNG maker skips the export settings entirely and outputs a ready-to-use PNG file, which removes the most common beginner mistake of accidentally saving a flattened JPG.
Which Method Should You Use?
Choose the Pen tool when you need print-grade precision on hard-edged products. Use Select Subject with Select and Mask for portraits and pets where hair detail matters and you already own Photoshop. Reach for an AI tool when speed matters more than manual control — quick social media posts, bulk e-commerce images, or any situation where you are not at your main workstation. In practice, many designers combine both: AI for the first 95% of the cutout, Photoshop for the final polish.