3R System R120-V3 Case Review
Inside 3RSystem R120-V3
Contents
Both panels are fastened to the case using black thumbscrews, which is excellent. Before talking about the interior from R120-V3 we must talk about the left-side panel, shown in Figure 9. It has space for installing up to two 120 mm fans and feature washable air filters. One interesting thing about these meshes is that all the holes have the same diameter, so the exact location when installing one fan isn’t fixed: you can move the fan around and install it where you think it will provide the best airflow for your components. Of course if you install two fans then you can’t move them around.
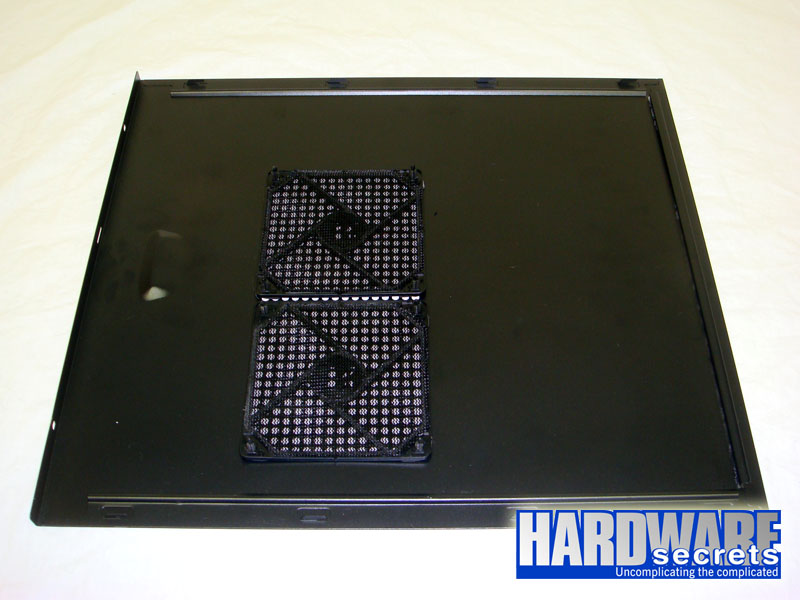 Figure 9: Left-side panel.
The interior from R120-V3 is painted black, giving this case an impressive looks. This case comes with an enormous hole on the motherboard tray for you to have access to the backplate from the CPU cooler, allowing you to replace it without having to remove the motherboard, and seven big holes for routing cables behind the motherboard tray.
 Figure 10: Overall look.
 Figure 11: A view from behind the motherboard tray.
This case allows the installation of video cards up to 11” (28 cm) long.
In Figure 12 you can have another overall look from inside R120-V3. On this picture you can see the rear and top fans. Daughter boards are fastened to the chassis using regular screws, but at least they are black.
 Figure 12: Overall look.
In Figure 13, you can see the power supply compartment. Notice the mesh with the air filter that we’ve already shown in Figure 7.
 Figure 13: Power supply compartment.