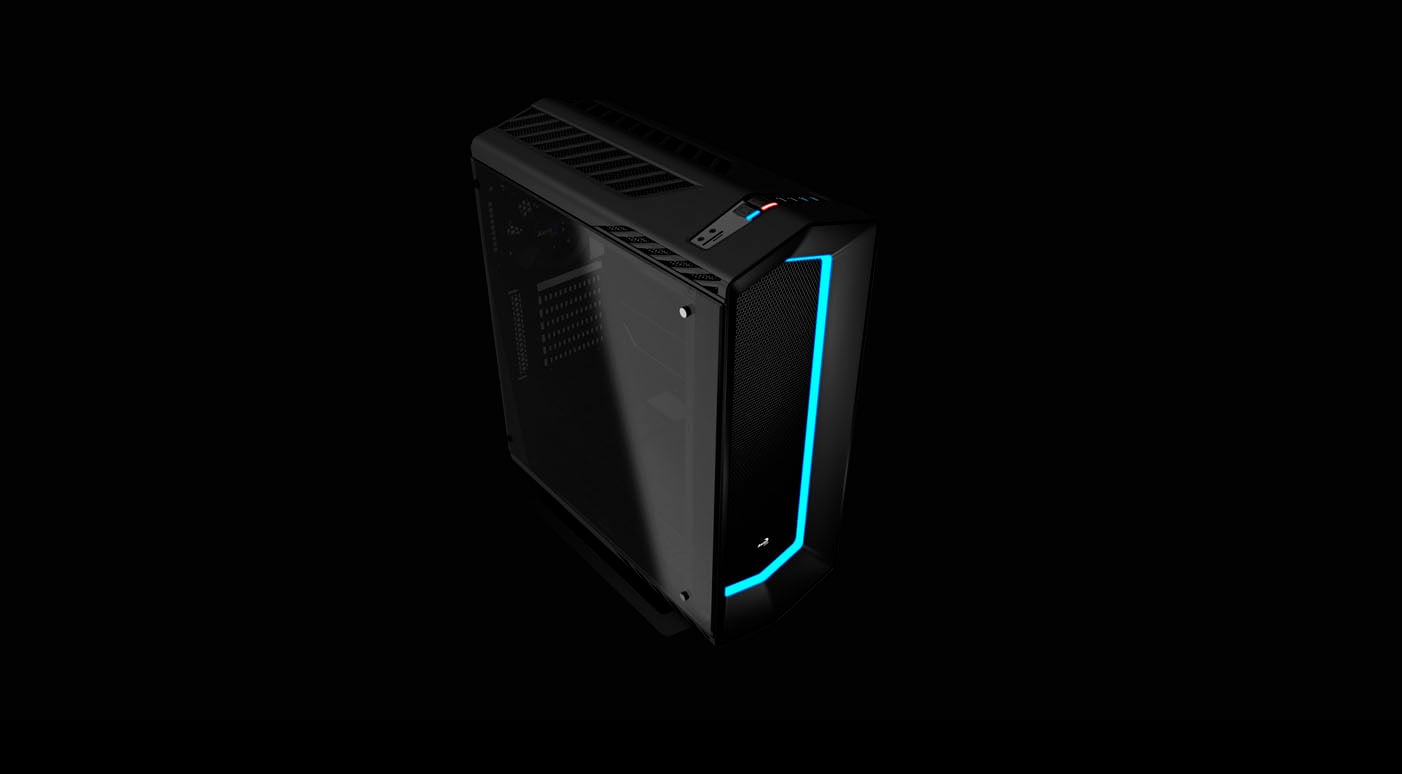
The Aerocool P7-C1 Case is a mid-tower case with RGB LEDs on the front panel, RGB controller, supporting up to three radiators. Let’s check it out!
The P7-C1 is part of the Aerocool “Project7” lineup, which includes cases, power supplies, fans, watercoolers, and chairs.
The P7-C1 comes in black or white. There are three versions: the P7-C1, which has a metal left panel with a transparent windows, the P7-C1 Tempered Glass (the version we tested), which has a full tempered glass left panel, and the P7-C1 PRO, which has a tempered glass left panel and a software-controlled RGB controlled.
Figures 1 and 2 show the case.
Figure 1: Aerocool P7-C1 case
Figure 2: Aerocool P7-C1 case
Let’s take a closer look at the case in the next pages.
[nextpage title=”The Front and Top Panels”]
The front panel of the Aerocool P7-C1 has a meshed area in the center. Around it is an RGB LED frame.
Figure 3: front panel
Removing the front panel (just pull it) you see a removable air filter.
Figure 4: front panel removed
Removing the air filter, you see the room for three 120 mm or two 140 mm fans. You can install a 360 mm (or smaller) radiator here.
Figure 5: air filter removed
The top panel also has a mesh area, with the buttons and connectors on the front. Here, you can install two 120 mm fans or a 240 mm radiator.
Figure 6: top panel
On the front of the top panel is the area with earphone and microphone connectors, SD and Micro SD card reader, RGB controller buttons, reset and power buttons (with the HDD activity and power LEDs inside them,) two USB 2.0, and two USB 3.0 ports.
Figure 7: connectors and buttons
[nextpage title=”The Bottom and Rear Panels”]
The bottom panel of the Aerocool P7-C1 is covered by a plastic cover, which allows the airflow inside it. There is an air filter for the power supply intake.
Figure 8: bottom panel
The rear panel of the Aerocool P7-C1 are painted in black. The power supply is installed at the bottom of the case.
The product comes with a 120 mm fan installed on its rear panel (1.200 rpm, 1.44 W, 36.4 cfm, 26.5 dB.) There are no openings for external liquid cooling system hoses.
This case comes with seven expansion slots, one with a reusable cover and the others with covers that must be broken to use.
Figure 9: rear panel
Let’s now take a look inside the Aerocool P7-C1.
[nextpage title=”Inside the P7-C1″]
The left panel, in tempered glass, is held by four thumbscrews. The right panel is held with two thumbscrews.
The motherboard tray has a huge cutout for you to access the backplate of the CPU coolers without having to remove the motherboard from the case, and holes for you to route cables behind it. There is a 0.8 inch (20 mm) clearance between the tray and the right panel to organize the cables.
The case supports ATX and smaller form factor motherboards.
There is a cover for the power supply compartment.
Figure 10: overall look
Figure 11: a view behind the motherboard tray
In Figure 14, we have another overall look inside the case. Expansion cards are held with regular screws.
The P7-C1 supports video cards up to 15.7” (400 mm) long. You can install CPU coolers up to 6.5” (160 mm) tall.
Figure 12: overall look
The power supply is installed at the bottom of the case, in an space apart from the motherboard area. It can only be installed with its bottom fan facing down. As shown before, there is an air filter for the power supply fan.
You will be able to fit power supplies up to 7.1” (180 mm) deep.
Figure 13: power supply compartment
[nextpage title=”The Disk Drive Bays”]
The Aerocool P7-C1 has two internal 3.5” bays (that can also fit 2.5” devices) and four internal 2.5” bays.
Figure 17 shows two 2.5” bays located over the power supply cover.
Figure 14: 2.5” bays
In Figure 15 you see two more 2.5” bays located under the motherboard tray.
Figure 15: 2.5” bays
Figure 16 unveils the two 3.5” bays, also under the PSU cover. These bays also support 2.5” drives.
Figure 16: 3.5” bays
[nextpage title=”Other features”]
In Figure 17 you see the accessories that come with the case. The highlight is the 15” (390 mm) long LED RGB ribbon, that you can install wherever you want. This ribbon lits on the same color of the front panel, and you choose the color and flash pattern on the buttons on the top panel.
Figure 17: accessories
Figure 18 shows a complete PC built on the Aerocool P7-C1.
Figure 18: built system
Figure 19 shows the system on, with the LED stripe over the PSU cover. The controller allows to choose eight colors, changing colors in sequence, or turned off. It also supports always on, pulse, or “breath” patterns.
Figure 19: lights on [nextpage title=”Conclusions”]The Aerocool P7-C1 differs from most cases because of its look, by the tempered glass left panel (on the tested version), the construction quality, but mostly by the RGB front frame and the RGB controller.
It has plenty of internal space for video cards and liquid cooling systems. The power supply and the hard disk drive bays under a cover also help to keep a clean look inside the computer.
- Intelligent PWM fan control board included with 7 led lighting colors & 4 led lighting mode selection
- Magnetic noise reduce board on top panel is easy to remove
- Large acrylic side window for clear viewing of chassis interior
- Pre-Drilled holes for cable management to reduce cable mess
- Sd & micro SD card reader included
Strong Points
- Front panel with RGB light
- Comes with a RGB ribbon and light controller
- Tempered glass left panel (on the tested version)
- Excellent construction quality
- Good internal space
- Air filter for the power supply
- Air filter for front fans
- Supports two 3.5” and four 2.5” devices (or up to six 2.5” drives if the 3.5” bays are unused)
- A huge cutout in the motherboard tray for accessing the backplate of the CPU cooler
- Supports 360 mm radiator
- Four USB ports (two 2.0 and two 3.0)
Weak Points
- Non-reusable expansion slot covers
- Expensive
Last update on 2023-04-02 at 04:16 / Affiliate links / Images from Amazon Product Advertising API
Leave a Reply