Aerocool P7-C1 case review
The Front and Top Panels
Contents
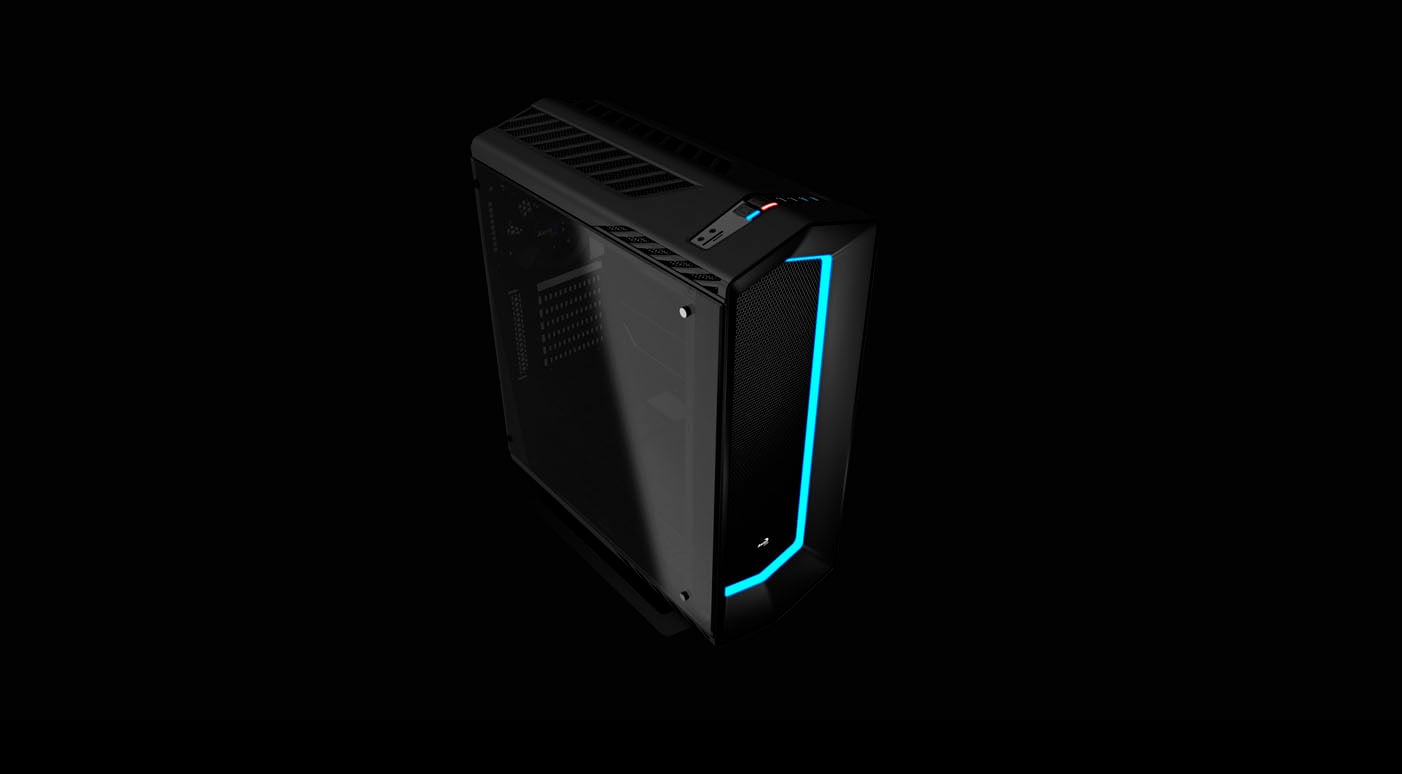
The front panel of the Aerocool P7-C1 has a meshed area in the center. Around it is an RGB LED frame.
 Figure 3: front panel
Removing the front panel (just pull it) you see a removable air filter.
 Figure 4: front panel removed
Removing the air filter, you see the room for three 120 mm or two 140 mm fans. You can install a 360 mm (or smaller) radiator here.
 Figure 5: air filter removed
The top panel also has a mesh area, with the buttons and connectors on the front. Here, you can install two 120 mm fans or a 240 mm radiator.
 Figure 6: top panel
On the front of the top panel is the area with earphone and microphone connectors, SD and Micro SD card reader, RGB controller buttons, reset and power buttons (with the HDD activity and power LEDs inside them,) two USB 2.0, and two USB 3.0 ports.
 Figure 7: connectors and buttons