
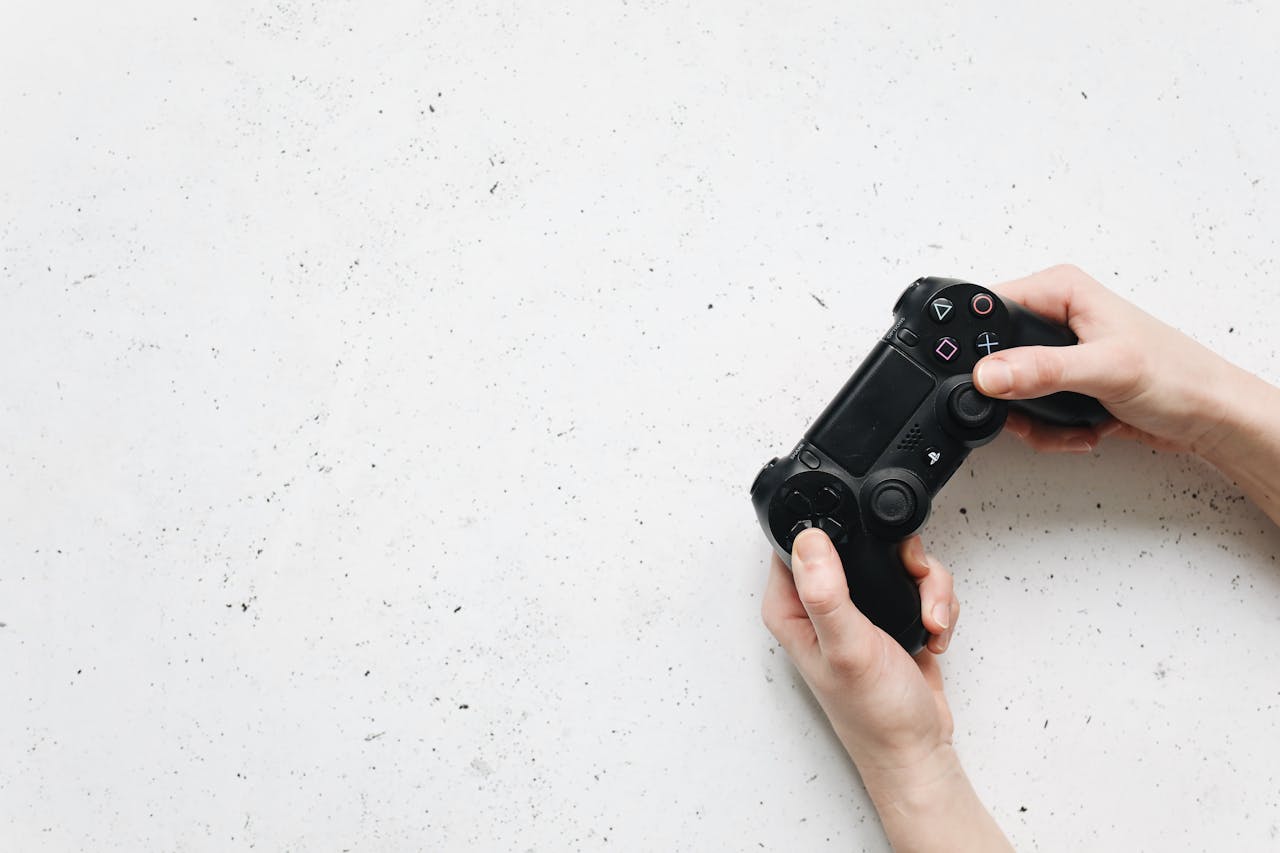
PS5 Controller Repair: How to Fix Common DualSense Issues at Home
Introduction
PS5 controller repair can seem intimidating at first, especially when your DualSense starts acting up after months of gaming sessions. Whether your controller is drifting, not charging, or has unresponsive buttons, there are reliable ways to bring it back to life without having to replace it entirely. This detailed guide walks you through everything you need to know about diagnosing, repairing, and maintaining your PlayStation 5 controller for long-term performance.
Understanding the PS5 DualSense Controller
Before diving into PS5 controller repair, it’s helpful to understand why the DualSense is such a sophisticated piece of technology. Sony’s DualSense controller introduced haptic feedback, adaptive triggers, and a built-in microphone — innovations that elevated gameplay immersion. However, these advanced features also make the controller more prone to wear and tear, especially if used frequently.
Common issues include:
- Stick drift (the analog stick moves on its own)
- Buttons not responding
- Trigger resistance malfunction
- Battery not charging or dying quickly
- Connectivity problems
Knowing what’s wrong is the first step toward a successful repair.
Diagnosing Common PS5 Controller Problems
When approaching PS5 controller repair, you’ll need to identify the root cause of the issue. Below are the most frequent problems gamers encounter and what they usually mean.
1. Stick Drift
One of the most frustrating issues is when your character moves without touching the joystick. Stick drift often occurs because of dirt buildup, worn-out potentiometers, or damage to the analog module.
2. Trigger Malfunction
If your L2 or R2 triggers feel loose or fail to provide resistance, the adaptive trigger mechanism might have snapped or the spring could be out of place.
3. Battery or Charging Issues
Controllers that won’t hold a charge or don’t charge at all could have problems with the battery, USB-C port, or internal wiring.
4. Button Problems
Unresponsive buttons might be due to dust under the contact pads, wear on the rubber membrane, or a disconnected ribbon cable inside.
5. Connectivity Issues
If your DualSense won’t connect to your console or PC, it may be related to Bluetooth interference or firmware corruption.
Once you’ve identified the issue, you can move to the next phase of PS5 controller repair — actually fixing it.
Tools You’ll Need for PS5 Controller Repair
To carry out a safe and effective PS5 controller repair, make sure you have the right tools. Here’s a list of recommended items:
- Small Phillips-head screwdriver
- Plastic prying tools or spudger
- Tweezers
- Isopropyl alcohol (70% or higher)
- Cotton swabs
- Replacement parts (analog sticks, trigger springs, battery, etc.)
- Microfiber cloth
It’s best to work on a clean, well-lit surface and keep track of all screws and components as you remove them.
Step-by-Step Guide: How to Fix Stick Drift
Stick drift is one of the most common reasons people search for PS5 controller repair. Here’s a detailed walkthrough to help you fix it.
Step 1: Disassemble the Controller
Start by removing the faceplate gently using a plastic prying tool. Unscrew the visible screws beneath it, then carefully open the controller.
Step 2: Access the Analog Module
Locate the analog sticks on the motherboard. If you notice dirt or grime, clean the base of each joystick with a cotton swab dipped in isopropyl alcohol.
Step 3: Clean or Replace Components
If cleaning doesn’t solve the drift, you may need to replace the analog module. Replacement parts are available online, and soldering may be required for installation.
Step 4: Reassemble and Test
Once cleaned or replaced, reassemble the controller and test it on your PS5 or PC. Move the sticks to ensure there’s no unintended movement.
Fixing Trigger Problems
Trigger issues often require more intricate PS5 controller repair steps because of the adaptive trigger’s mechanical system.
Step 1: Open the Controller
Follow the same disassembly process as above. Locate the adaptive trigger assembly for the affected side.
Step 2: Check the Spring Mechanism
If the spring has popped out, you can reposition it using tweezers. However, if it’s broken, a replacement spring kit will be needed.
Step 3: Recalibrate
After fixing the trigger, reconnect the controller and test the adaptive tension by playing a game that uses trigger feedback, such as Gran Turismo 7 or Call of Duty.
Solving Charging and Battery Problems
Battery issues can also lead to PS5 controller repair needs. Over time, the rechargeable lithium-ion battery can degrade or lose contact.
Step 1: Inspect the Charging Port
Use a flashlight to see if there’s any dust or debris inside the USB-C port. Clean it carefully with compressed air.
Step 2: Replace the Battery
If the controller doesn’t charge even after cleaning, the battery may need replacing. Disconnect it gently and install a new compatible DualSense battery.
Step 3: Try an Alternative Cable
Sometimes, the issue lies not with the controller but with the cable. Test with another high-quality USB-C cable before assuming it’s a hardware fault.
Repairing Unresponsive Buttons
If your face buttons (X, O, Square, Triangle) or D-pad are not responding, here’s how to perform a PS5 controller repair safely.
Step 1: Open and Inspect
Disassemble the controller and look for dust or grime around the button membrane.
Step 2: Clean the Contacts
Use a cotton swab with a bit of isopropyl alcohol to clean the contact pads gently. Avoid excessive moisture.
Step 3: Replace the Rubber Membrane
If cleaning doesn’t help, consider replacing the rubber contact pad — they’re inexpensive and can restore responsiveness instantly.
Fixing Connectivity Problems
A wireless connection problem can make your controller unusable. Before going for a full PS5 controller repair, try these quick fixes.
- Reset the Controller:
Use a pin to press the small reset button on the back of the controller for 5 seconds. - Reconnect via Cable:
Connect your controller to the console with a USB-C cable and press the PS button. - Update Firmware:
Plug the controller into your PS5 and check for system updates. Firmware updates often resolve Bluetooth issues. - Avoid Interference:
Move away from other wireless devices that may cause signal disruption.
If none of these solutions work, the Bluetooth chip or internal antenna might need replacing.
When to Seek Professional PS5 Controller Repair
Sometimes, home repairs aren’t enough. If your controller is still under warranty, contact Sony for an official repair or replacement.
Professional repair services can handle:
- Severe stick drift that cleaning won’t fix
- Internal motherboard damage
- Adaptive trigger motor issues
- Liquid damage
Using authorized repair centers ensures your controller remains covered and repaired with genuine parts.
Tips to Prevent Future Controller Damage
After you’ve completed your PS5 controller repair, you’ll want to make sure it stays functional for as long as possible. Here are a few preventive measures:
- Clean regularly: Wipe down your controller weekly to prevent dust buildup.
- Avoid excessive force: Don’t press triggers or sticks too hard during gameplay.
- Use a charging dock: It maintains optimal battery health and avoids cable strain.
- Store properly: Keep the controller in a cool, dry place when not in use.
- Update firmware frequently: This ensures smooth performance and bug fixes.
Taking small steps like these can extend the lifespan of your DualSense significantly.

DIY vs. Professional Repair: Which Is Better?
When deciding between DIY and professional PS5 controller repair, consider your comfort level and the issue’s severity.
| Repair Type | DIY Repair | Professional Repair |
|---|---|---|
| Cost | Cheaper (only parts and tools) | Higher due to labor |
| Skill Required | Moderate to high | None required |
| Warranty Risk | May void warranty | Usually covered |
| Success Rate | High for simple fixes | Very high for complex issues |
If your controller is out of warranty and you’re confident with electronics, DIY can be a great option. However, for expensive components like adaptive triggers or circuit boards, professional repair might be safer.
Finding Reliable Replacement Parts
Reliable replacement parts are essential for a successful PS5 controller repair. Avoid cheap imitations that could cause further damage.
Recommended sources include:
- iFixit or other trusted electronics repair sites
- eBay (check seller ratings carefully)
- Local electronics repair shops
- Official Sony replacement parts (if available)
Make sure the components match your controller model and version before purchasing.
Cost of PS5 Controller Repair
The cost of PS5 controller repair varies depending on the issue and method.
| Issue | DIY Cost | Professional Cost |
|---|---|---|
| Stick Drift | $10–$25 | $40–$70 |
| Trigger Repair | $5–$15 | $50–$80 |
| Battery Replacement | $10–$20 | $40–$60 |
| Button Replacement | $5–$15 | $30–$50 |
| Full Diagnostic Repair | – | $70–$100 |
DIY repairs are often more affordable, but if your controller is still new or under warranty, official service is the safest choice.
Conclusion
PS5 controller repair doesn’t have to be a complicated process. With a little patience, the right tools, and reliable guidance, you can bring your DualSense back to peak condition in no time. Whether you’re fixing drift, triggers, or connectivity issues, understanding your controller’s components gives you the confidence to troubleshoot like a pro.
Remember — regular maintenance and gentle handling go a long way toward preventing future breakdowns. And if DIY fixes don’t work, professional repair services are always available to restore your favorite gaming companion.
Your PS5 deserves a controller that performs perfectly — and now, you have everything you need to make that happen.