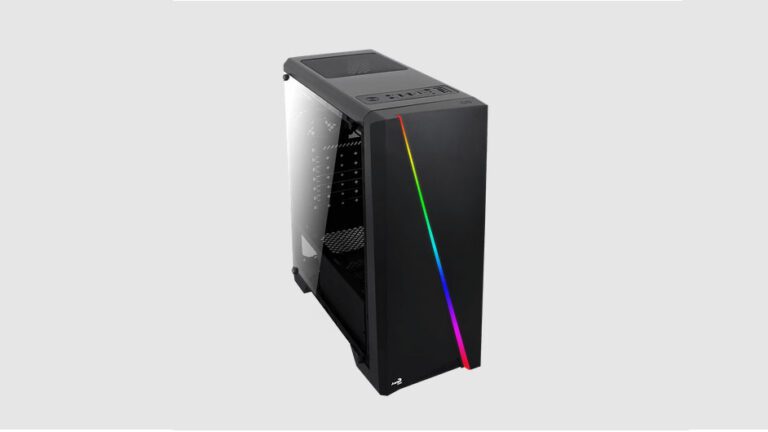
3R System L700 Eclipse Case Review
Inside the 3R System L700 Eclipse
Contents
Both panels are attached to the chassis using black thumbscrews. The motherboard tray has a huge hole for you to access the backplate of the CPU cooler without having to remove the motherboard from the case, several holes for you to route cables behind it, and several metallic clips for you to fasten cables using cable ties.
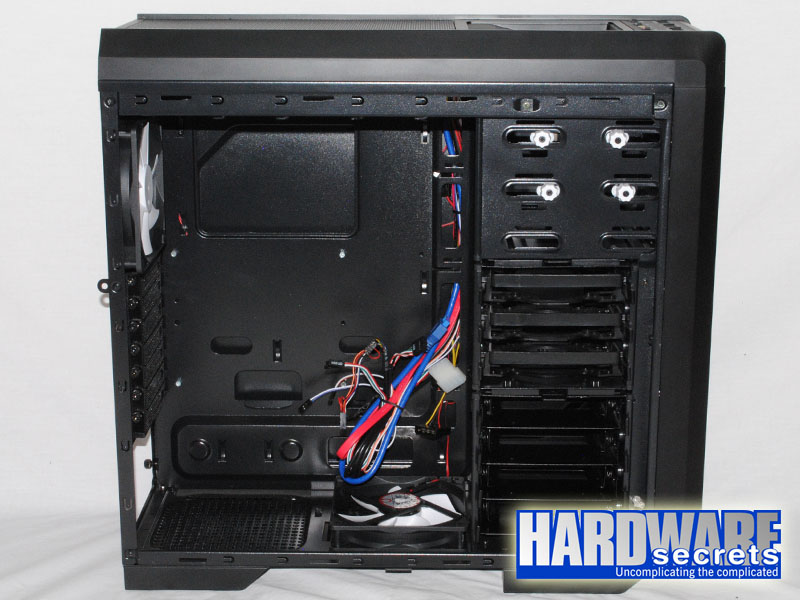 Figure 12: Overall look
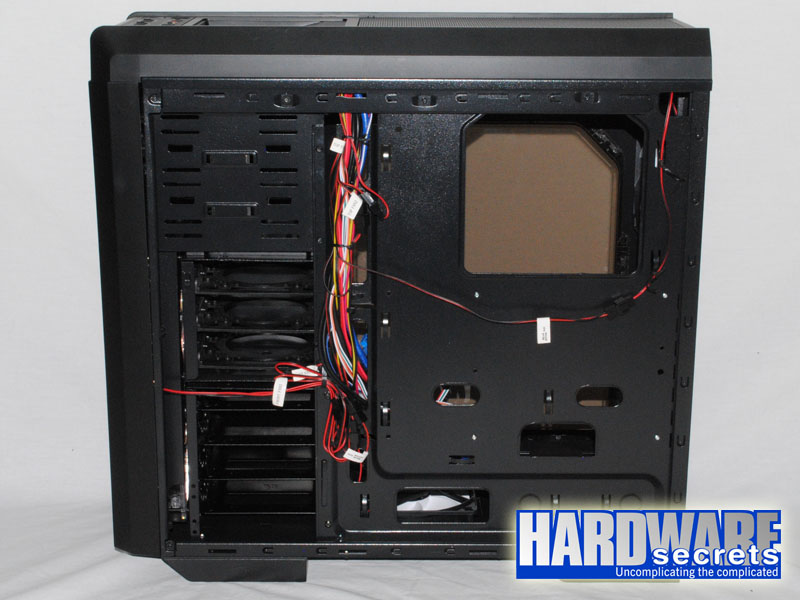 Figure 13: A view behind the motherboard tray
Figure 14 gives you another overall look inside the case. Expansion cards are fastened using black thumbscrews. The 3R System L700 Eclipse supports video cards up to 11” (280 mm) long on its default configuration or up to 16.1” (410 mm) if the top hard drive cage is removed.
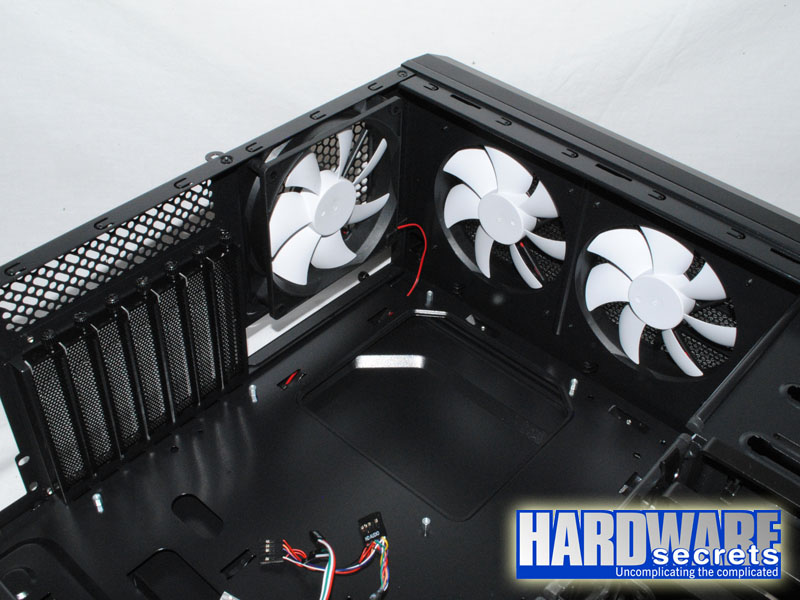 Figure 14: Overall look
As already explained, the power supply is installed at the bottom of the case. Note that it can be installed with either its bottom fan facing up or facing down, so you can decide if you want the fan of your power supply pulling air from inside the case or from outside of it. As already shown, there is an air filter for the power supply fan.
The 3R System L700 Eclipse comes with a fan on its bottom panel, which is connected to the same two-step speed controller as the rear fan. It must be connected directly to the power supply using a standard peripheral power plug. No technical specifications for this fan are available.
Because of the presence of the bottom fan, you can only install power supplies up to 6.7” (170 mm) deep. If you want to install a deeper power supply, you will have to remove the bottom fan.
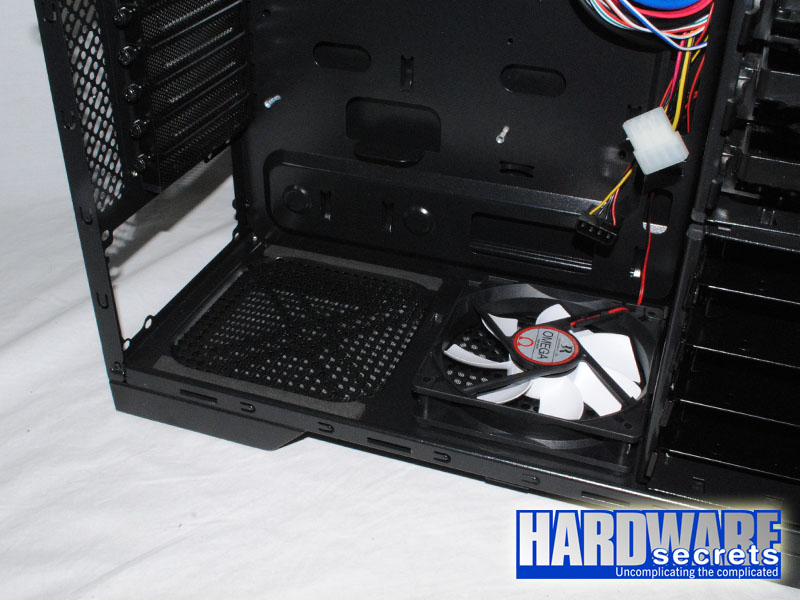 Figure 15: Power supply compartment